BENEFITS
What makes us uniqueHIGH-QUALITY SPECIMENS
Our specimen fabrication method offers our customers five unique advantages to fabricate high-quality and reproducible tensile specimens of even the smallest material volumes. This guarantees that not the specimen fabrication but the material itself determines the final test results.
ROUND
For conventional uniaxial tensile testing with specimens of a standard size, there is no difference if specimens with a round or rectangular cross section are used. If small specimen dimensions on the meso-scale (< 1mm) are required, the situation changes due to the following reasons:
- It is difficult to impossible to fabricate specimens with a rectangular cross section having precise dimensions. For example, the edges of small rectangular specimens will always be rather round than sharp.
- The measurement of the specimen dimensions below 1 mm is challenging if a rectangular cross section is used.
As a consequence, it is impossible to calculate the real cross sectional area of the specimen and the results of a tensile test are strongly influenced.
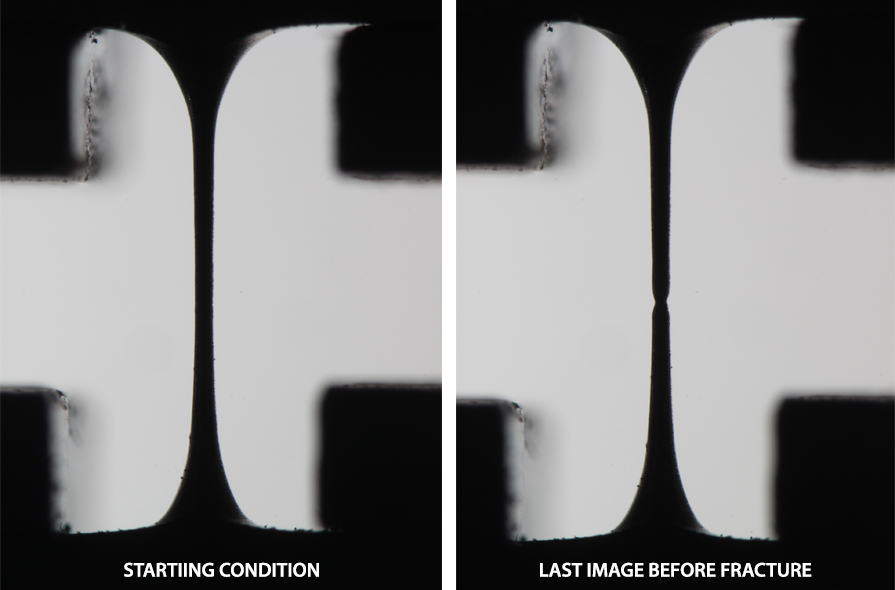
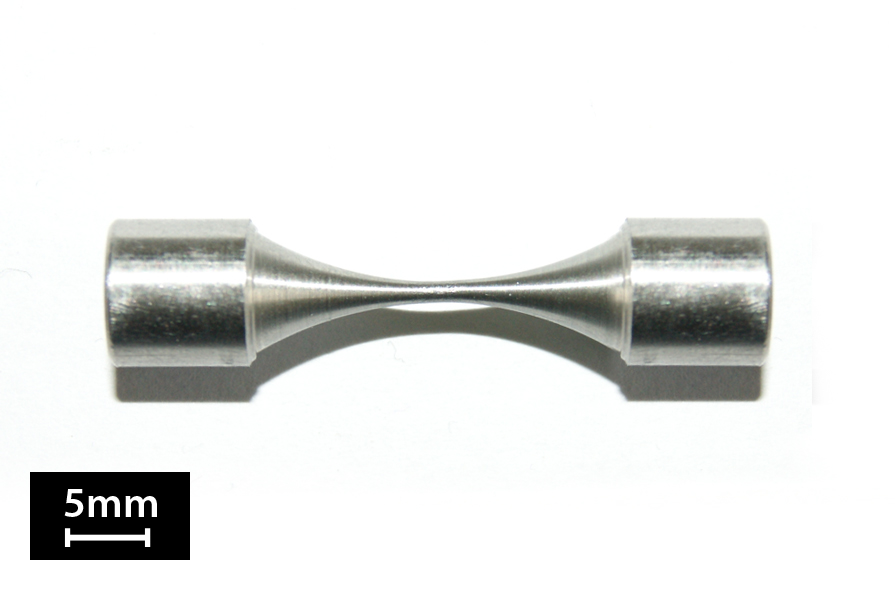
Specimens made with our tool have a round cross-section: The rotational symmetry improves the accuracy of the specimen dimension measurement. During testing, the actual specimen geometry is continuously monitored using a recording camera which is remote-controlled. Hence, easy correlation between the recorded frames and tensile stage data is possible.
The cross–sectional diameter is easily controlled and can be adjusted during machining which guarantees a high reproducibility. The absence of edges reduces the likeliness of notches or burrs to occur. Since the specimen is rotationally symmetric, it furthermore prevents the occurrence of a bending moment during testing
SMALL-SCALED
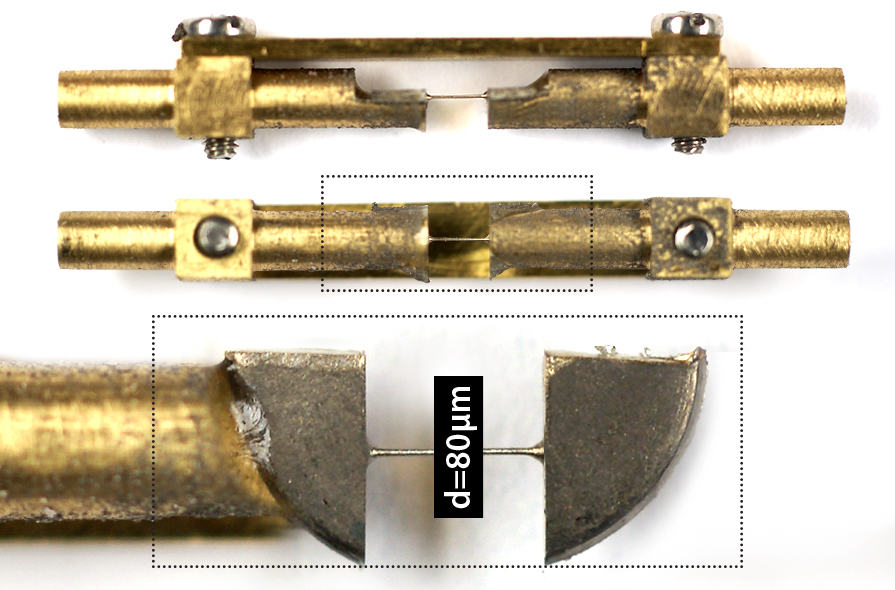
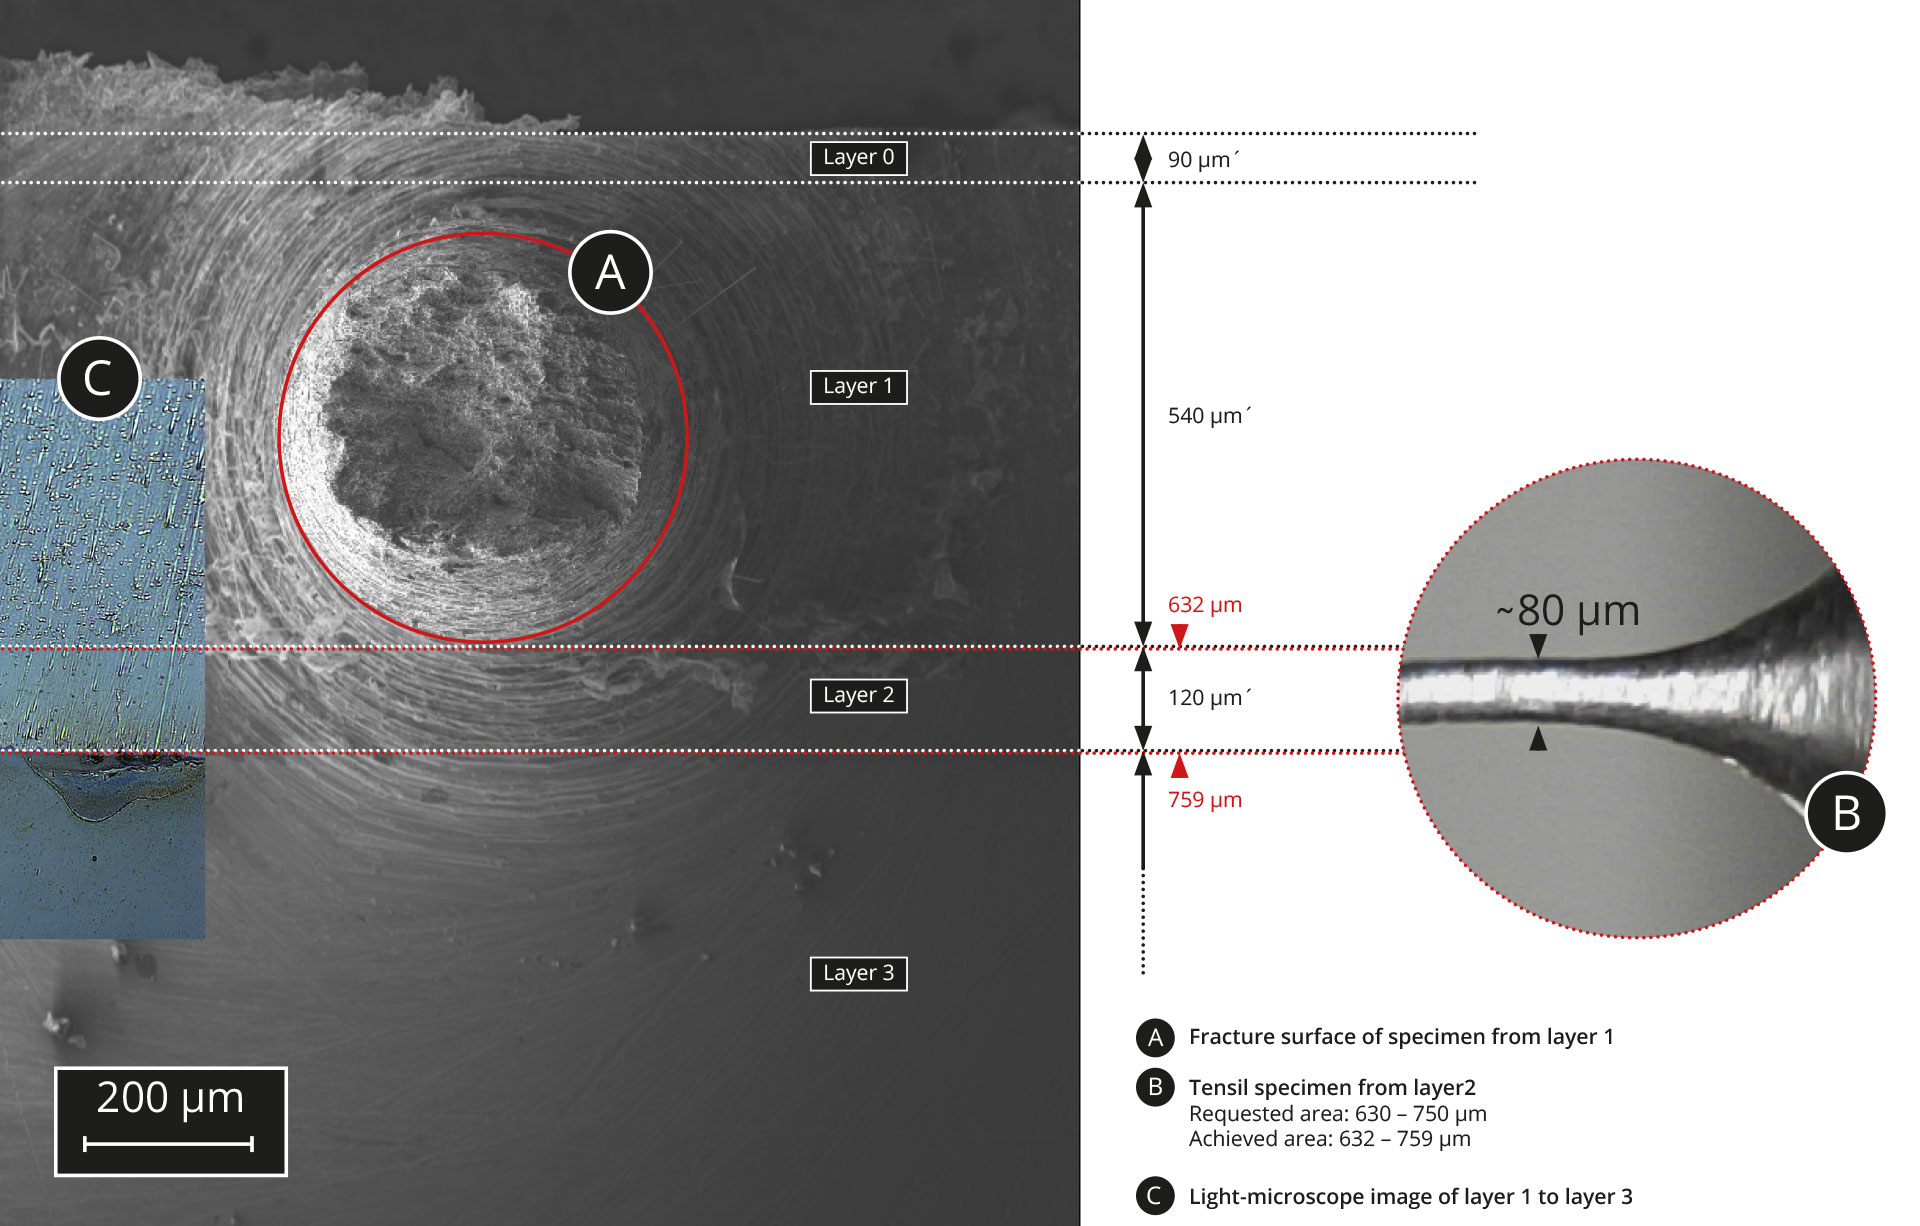
Conventional uniaxial tensile testing is one of the well-established test procedures in materials science to determine a large number of mechanical properties of engineering materials. With our fabrication process high-quality specimens from a few millimetre down to the sub-millimetre range can be produced.
It thus becomes possible to test defined volumes or small devices. For example:
- welds or soldering joints
- monitoring the mechanical properties across welds
- very thin tube cross-sections
- thin sheets or coatings
- core and edge regions of components with different shape
- medical components or electronic components
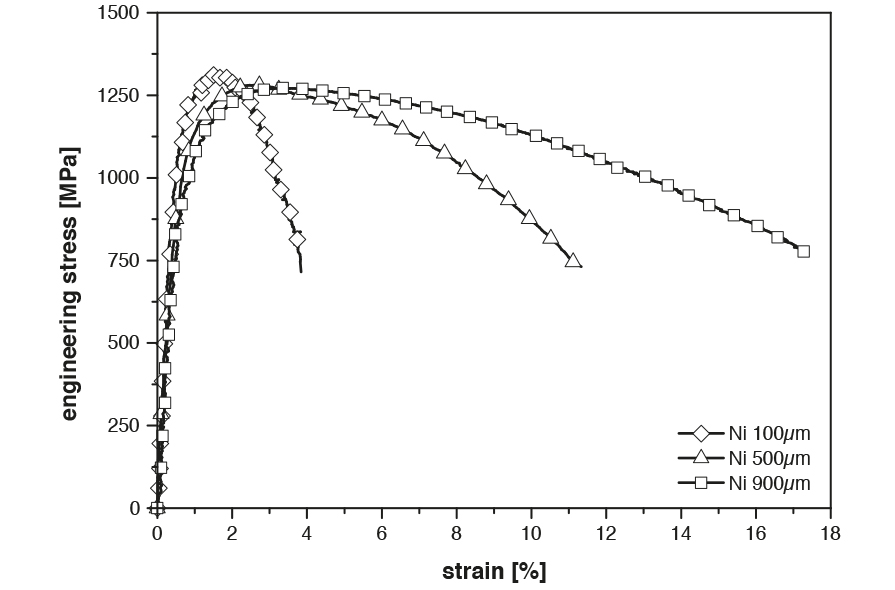
With our test setup and evaluation method, the actual mechanical properties of material volumes on the meso-scale can be determined. This includes:
- Ultimate tensile strength
- Yield strength
- Young’s modulus
- Uniform strain
- Elongation and reduction in area
- Strain hardening characteristics
- True stress-strain curves
SITE-SPECIFIC
With our fabrication process, the precise positioning of the material volume to be tested is rapidly and reproducibly possible.
Hence, specimens can directly be prepared from the features of interest. Additionally, a high accuracy that require very little prior preparation is achieved. The initial material can have cylindrical, rectangular or any kind of other shape. Even specimens which have diagonal surfaces can be processed.
EVERY MATERIAL
The method can be applied to a wide variety of engineering materials. In principle, there are no special requirements which must be fulfilled. There is, for example, no electrical conductivity necessary like in electrical discharge machining. Application is extremely diverse and includes:
- Metallic materials (ductile and brittle)
- Elastomers and plastics
- Biological materials
- Ceramics
- Composite materials
- Bulk metallic glasses
EVERY SHAPE
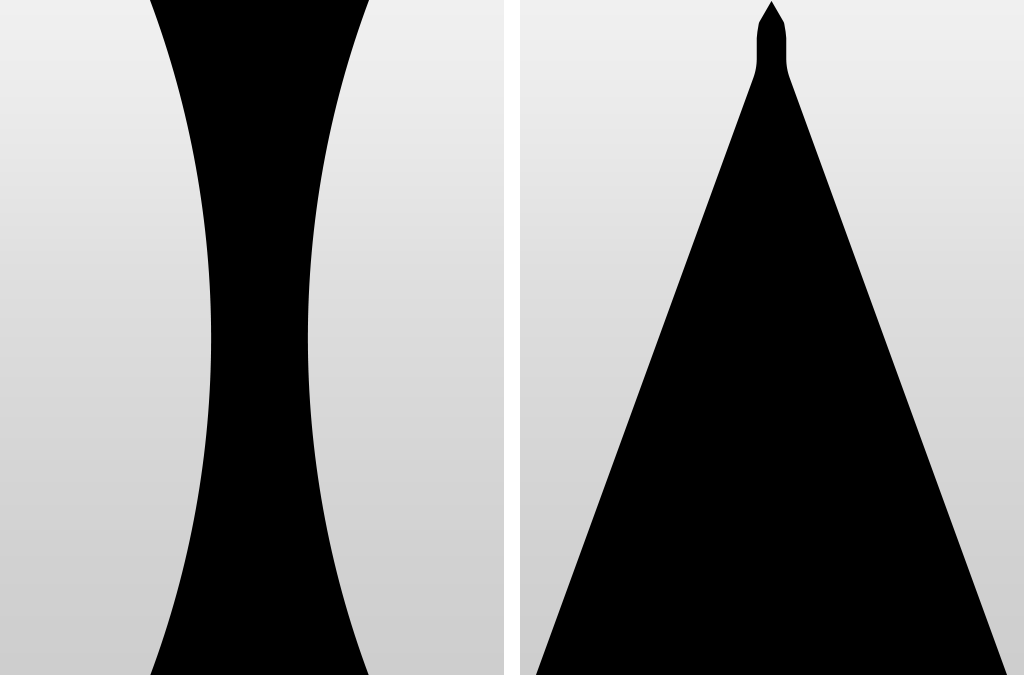
Due to the rotational symmetry of the fabrication process, specimens may assume any rotationally symmetrical shape. The following specimens shapes have been successfully produced up to now:
- Tensile specimens with different shape and width of the grip sections
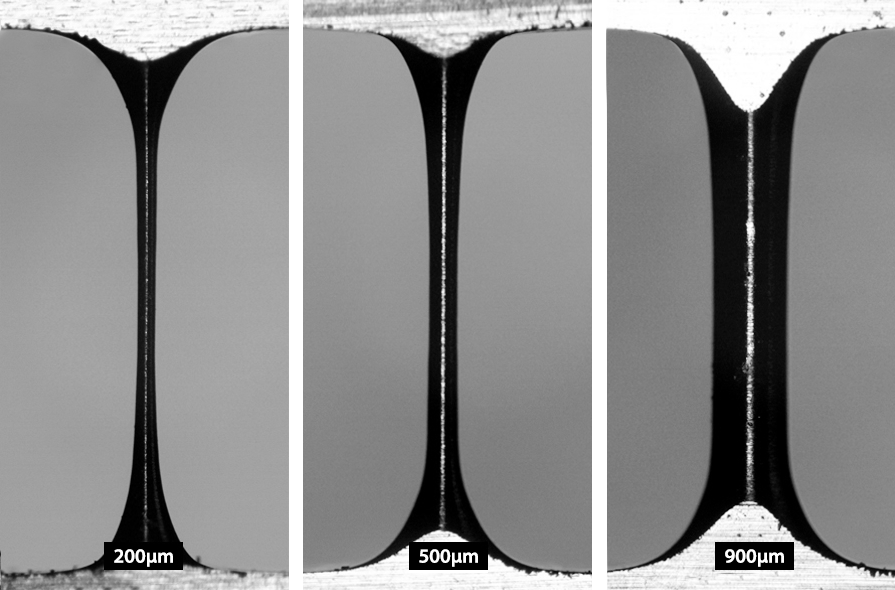
- Tensile specimens with different shape and size of the “reduced” section or gauge length section
- Low-cycle fatigue specimens
- Preparation of needle-shaped specimens for electropolishing and subsequent atom probe tomography measurements
WE WOULD BE HAPPY TO DISCUSS YOUR SPECIAL NEED IN SPECIMEN FABRICATION
GET IN TOUCH
Der Aufbau des Dienstleistungsbereichs wird vom Bundesministerium für Wissenschaft, Forschung und Wirtschaft und der Europäischen Union unterstüzt.
